Ever since we moved into our house I've wanted a bigger (and better) house number. I know the pain of trying to find someone's house when they, or everyone around them has tiny little house numbers.
I looked around online at various household name shops, but couldn't find anything that was any bigger than normal, and I also got bored of looking as there's so many different fonts and styles to wade through.
Next I turned to 'custom' cut house numbers but these were more money that I was willing to pay. Very nice, and big enough, but a lot of money.
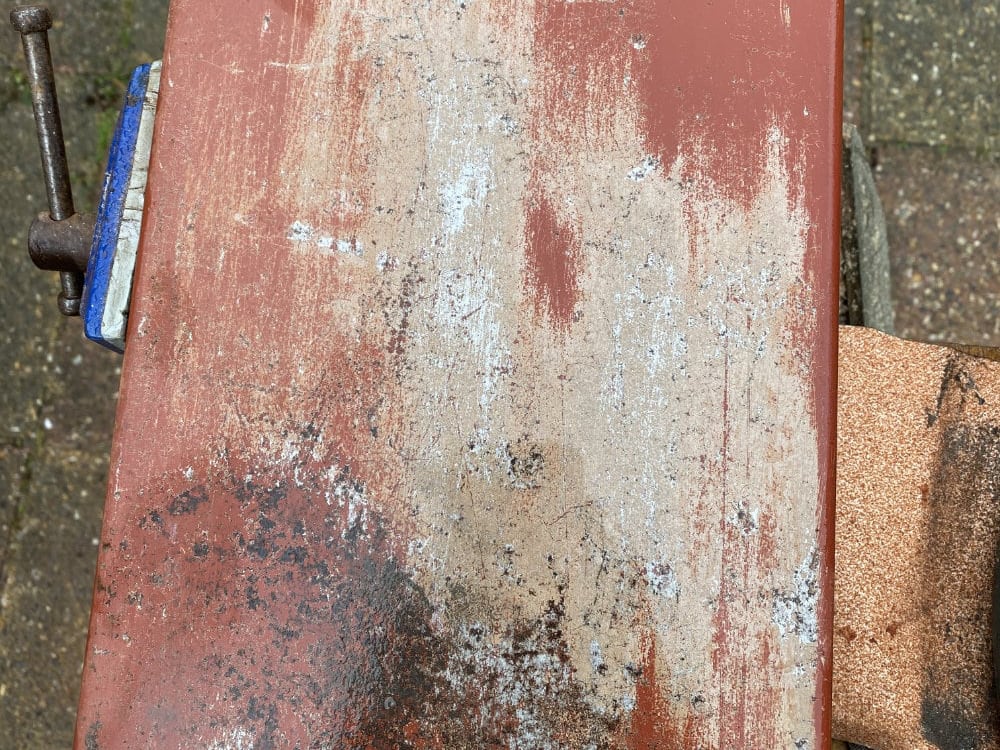
So I did what I often do when I want or need something, I looked around to see if I could make it from what I had. And what I had turned out to be several old metal shelves.
I thought I'd be able to sand off the paint and cut out a piece of sheet metal big enough for a house number, so that's what I started to do.
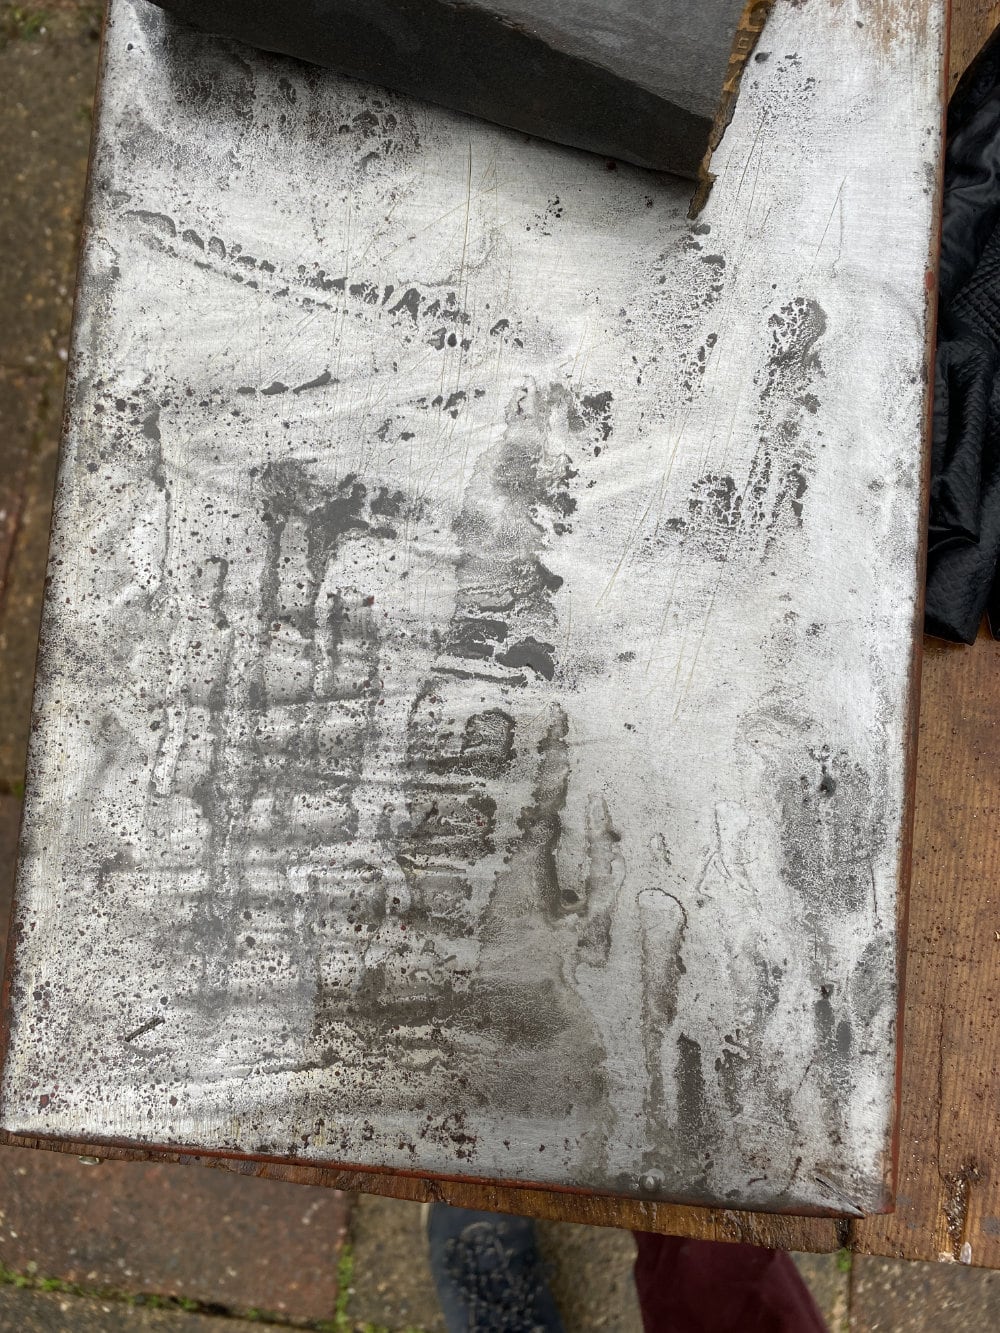
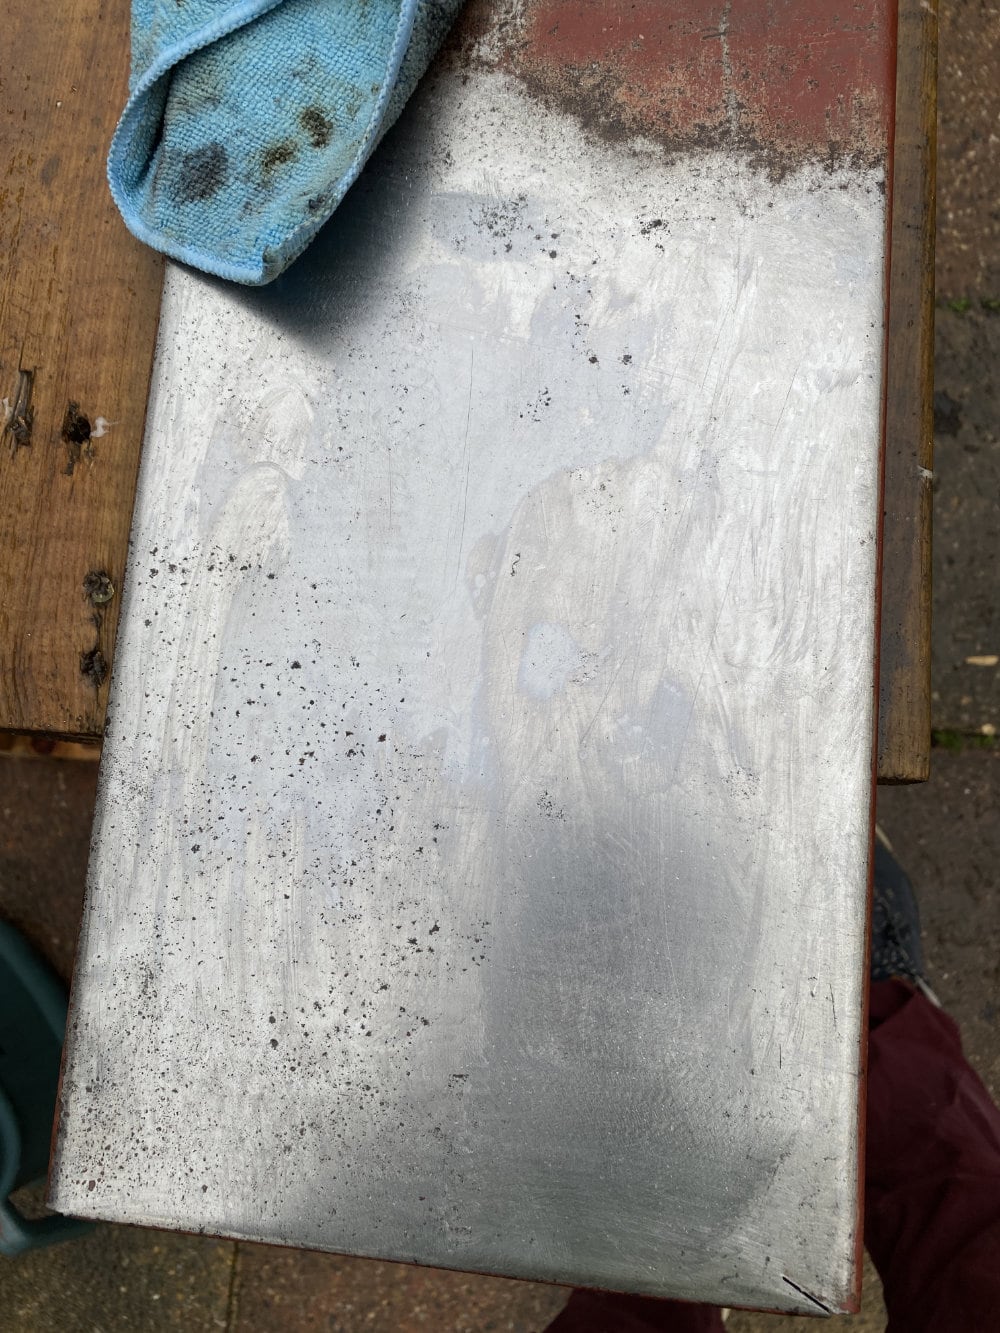
It took an awful lot of sanding, entirely by hand, to get down to clean bare metal before I started cutting. In hindsight I wish I'd cut out the number and then only sanded the area I actually needed, but at the time I wasn't sure how well the cutting was going to go, so I took it one step at a time.
Swapping between a normal hacksaw and a junior hacksaw I got the piece cut out from the shelf. With my skill level, trying to cut a straight line with the hacksaw was incredibly difficult. The way the blade mounts to the saw body means that it doesn't stay straight and it move a lot, so I had my work cut out.
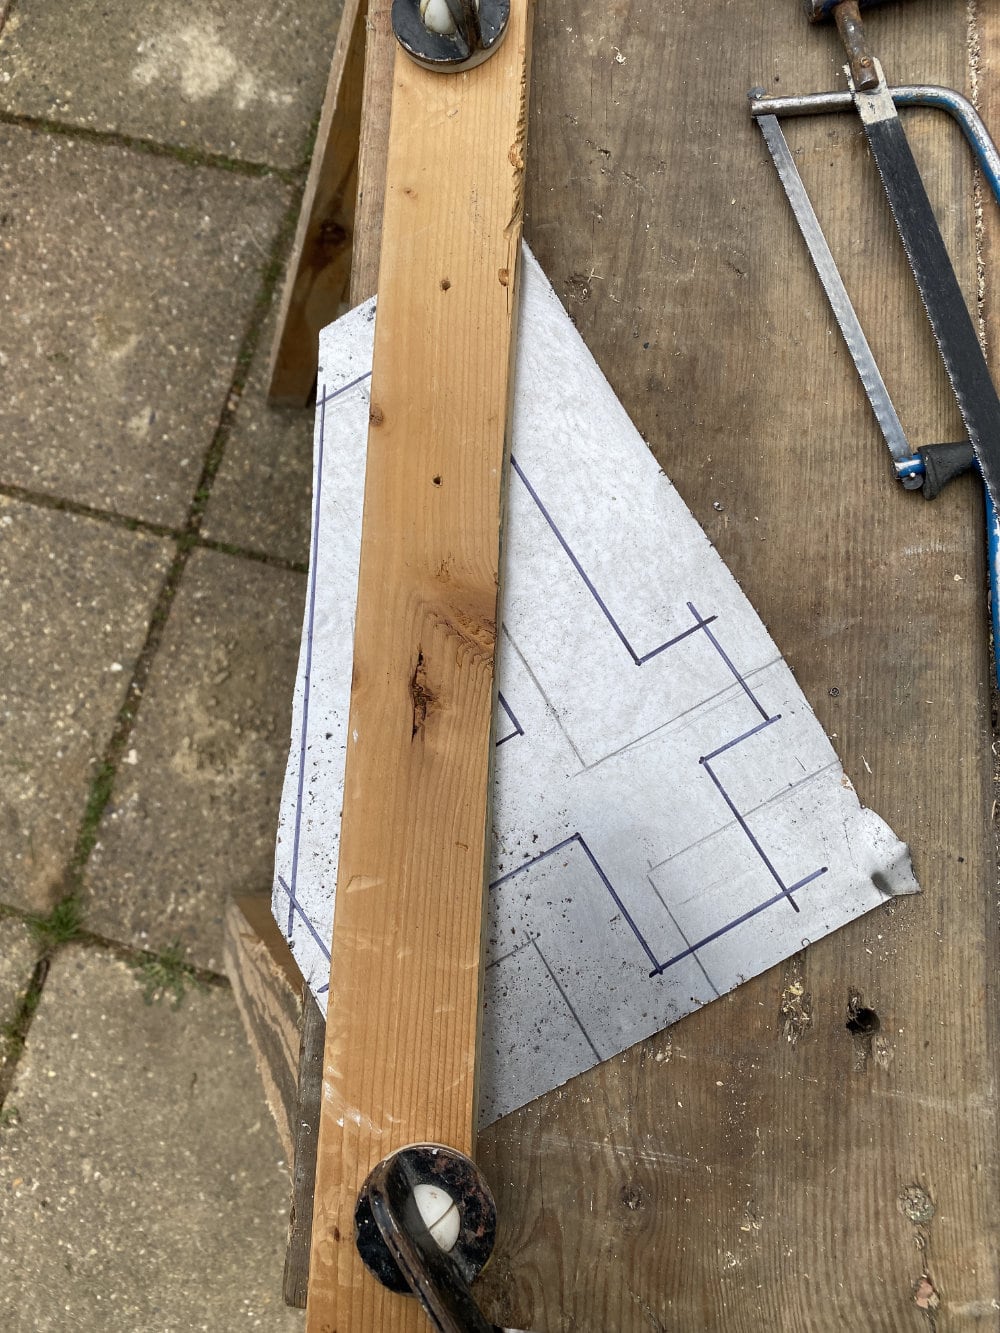
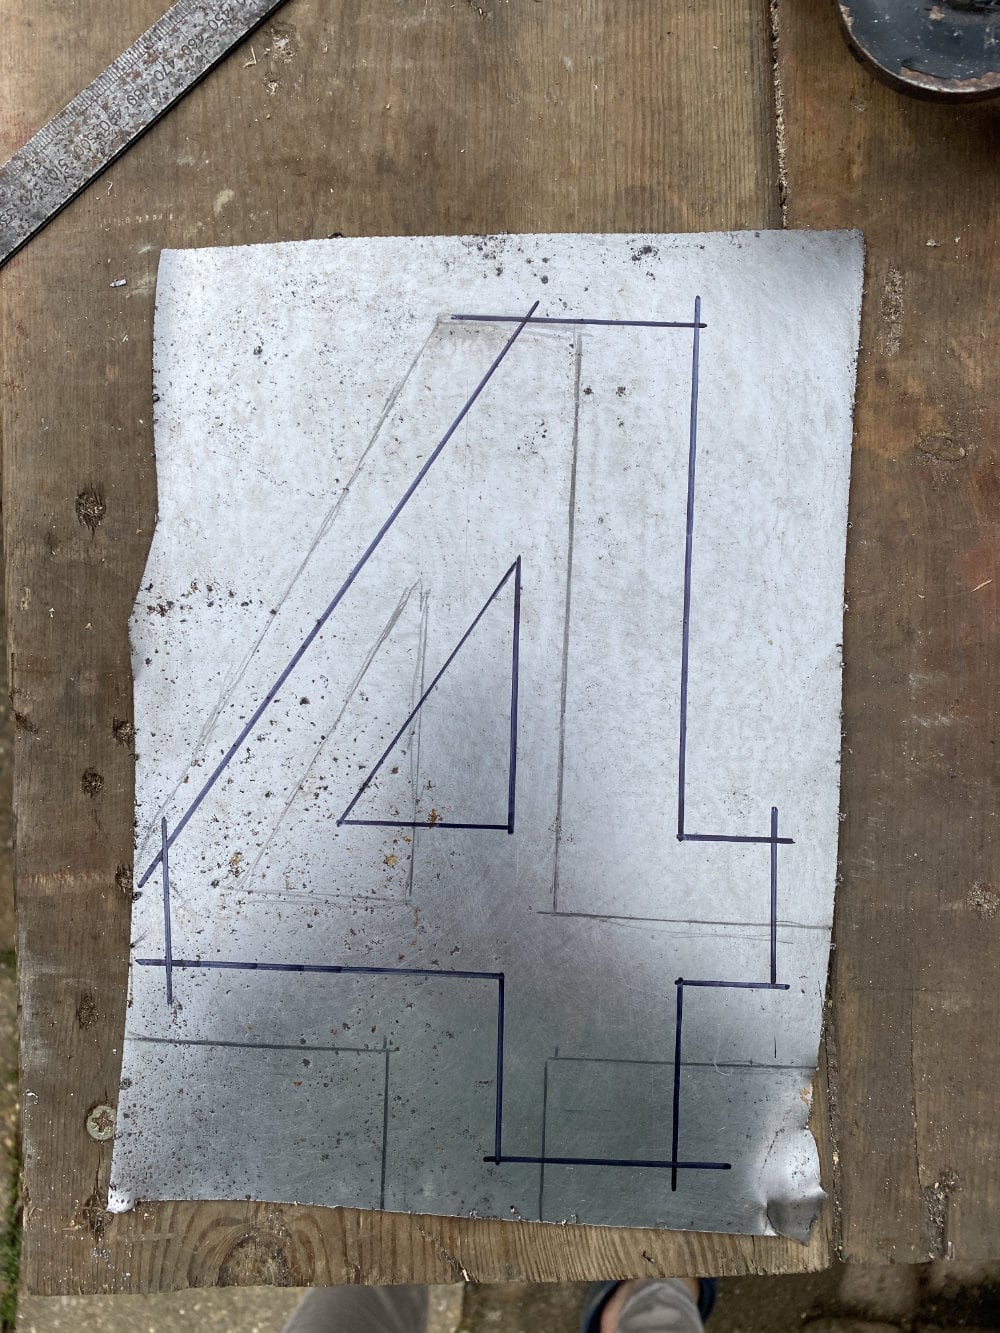
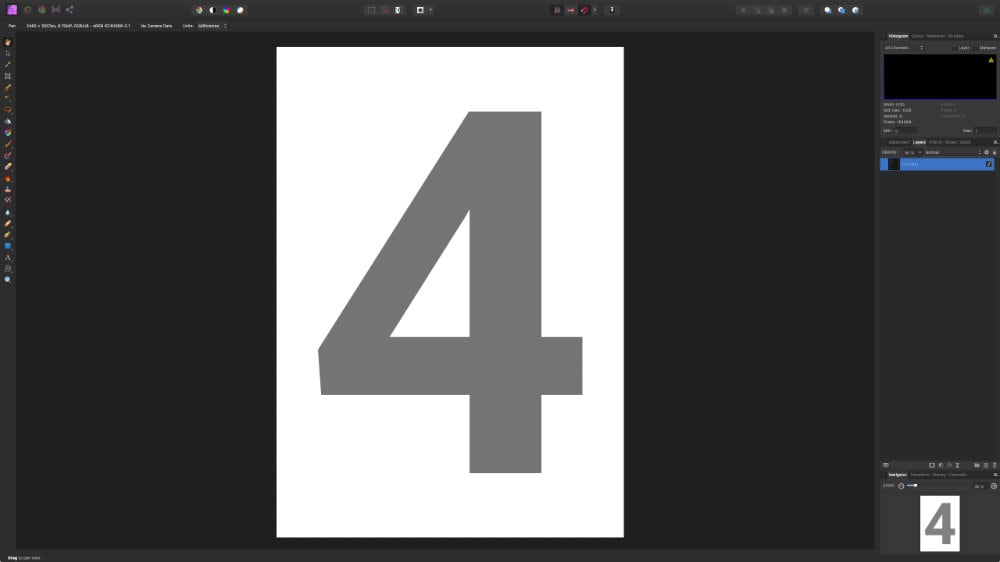
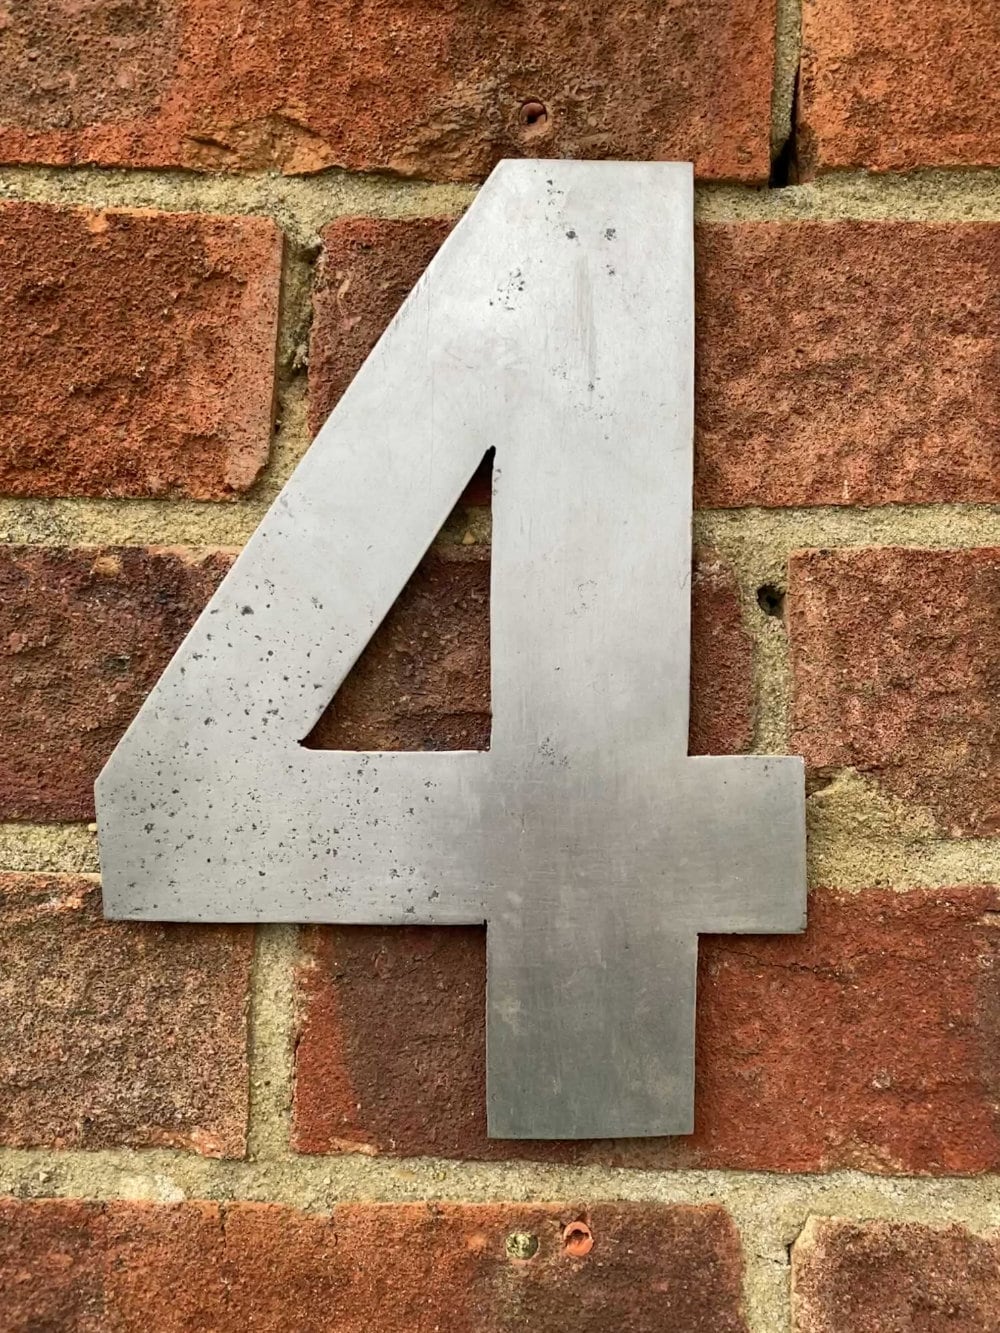
We looked at "4"s from many different fonts to choose the one we wanted for the front of our house and I printed it out on A4 paper to trace around.
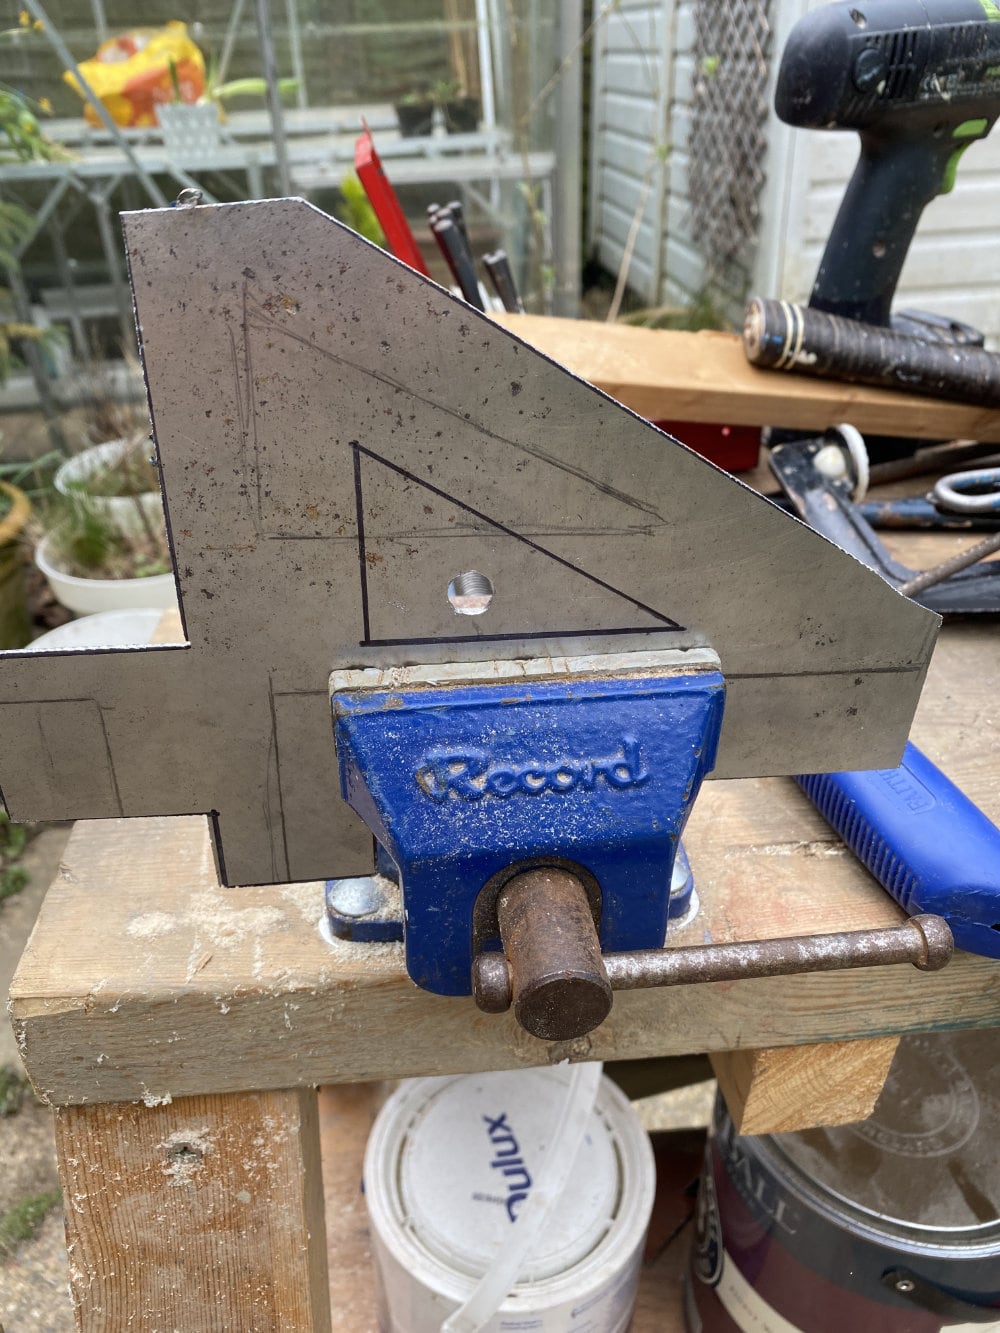
The outside of the number took a lot of effort to ensure I got things as straight as possible, but in the end I got there.
Now I just had to figure out how to cut out the middle with a big hacksaw and a junior hacksaw. I made an obvious start by drilling a hole, then all progress stopped while I pondered.
I managed to fashion a jabsaw style hacksaw with the handle of another tool and a bare hacksaw blade. I had to be very careful not to bend the unsupported blade too much, by using only the few centimetres in front of the handle.
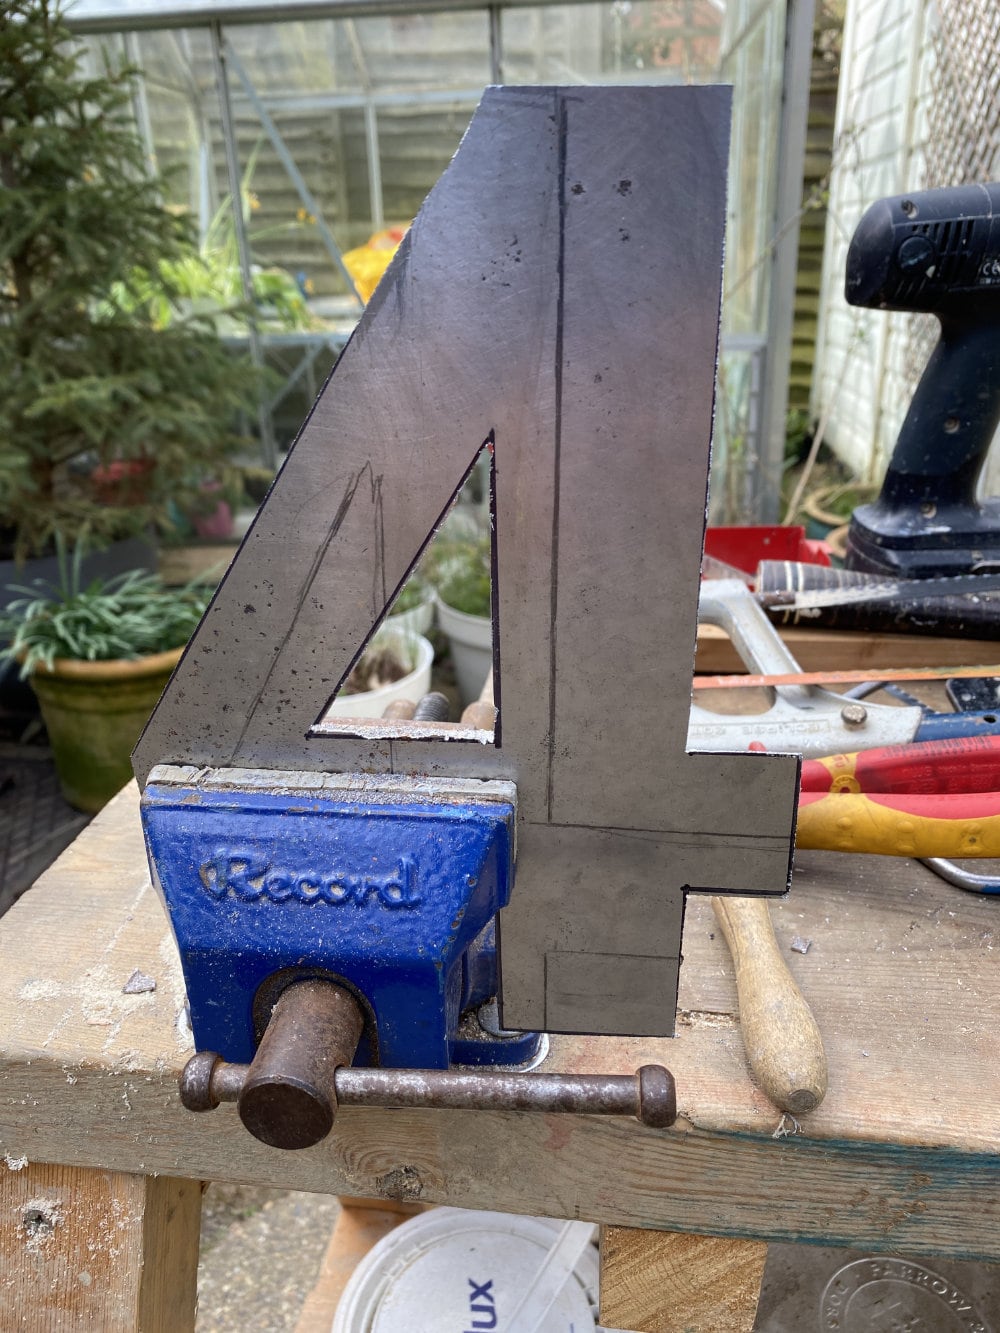
I filed everything down and set about thinking how to attach the whole lot to the wall.
I didn't want to have any visible fixings, so I couldn't just drill & screw straight through the number into the wall. I also planned to fix the number to a piece of wood which would then be attached to the wall, and I didn't want any visible fixings on that either.
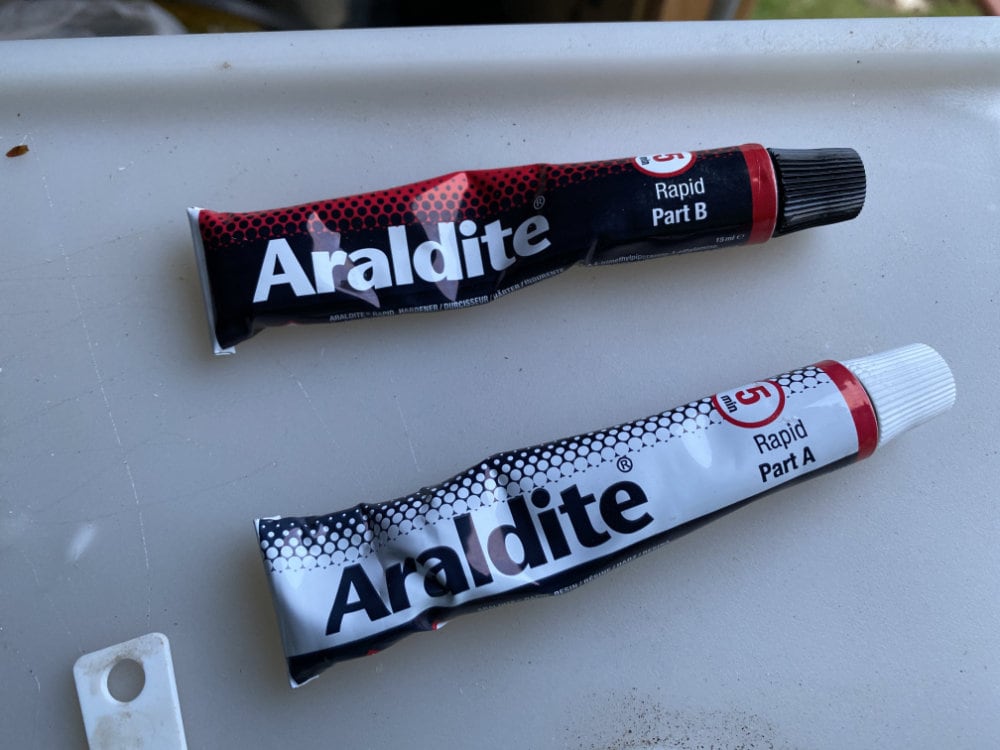
Epoxy was the obvious answer for fixing the number to something, but I couldn't just epoxy the number to the board and then screw it to the wall as the screws would be visible. Nor could I fix the board to the wall then epoxy the number on as it would need clamping and time to cure, neither of which would be practical if it was all already on the wall.
Oh and I also wanted the number to be 'floating' above the wood, not fixed straight to it.
I hadn't figured out how I was going to do it, right up until I was staring at the number, the wood and my recently purchased epoxy.
Getting the number to 'float' was fairly simple, I just cut some small pieces of metal to sit between the wood and the number.
I had also planned to make the bottom piece longer, in order to be able to screw it to the wood, but still had the issue of how to screw it to the wood after having stuck everything together.
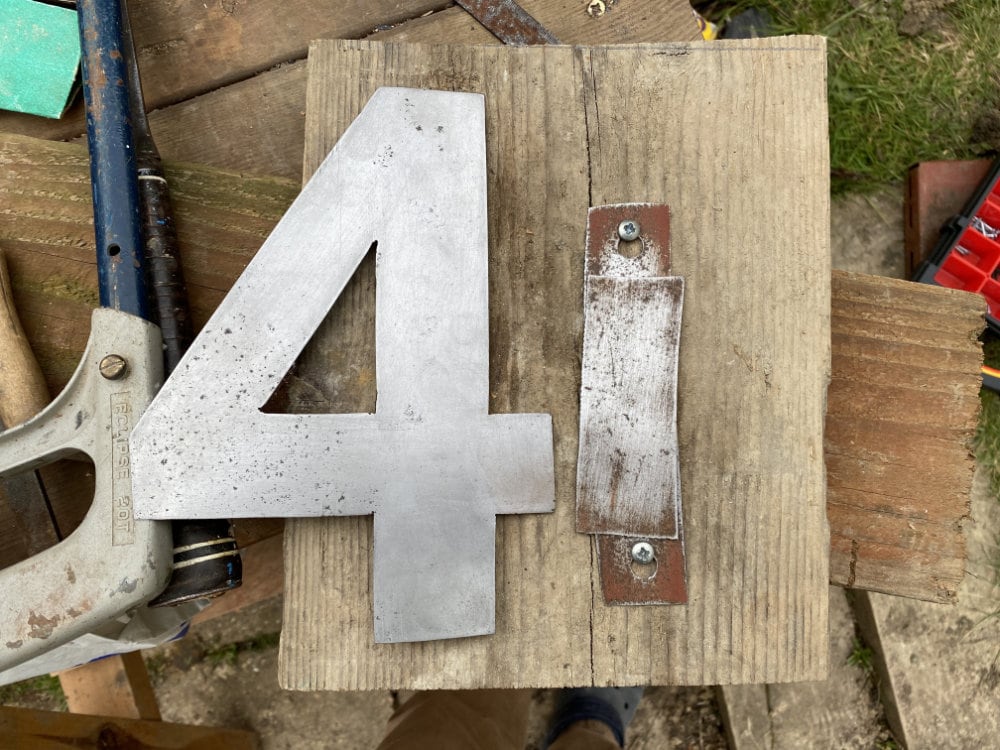
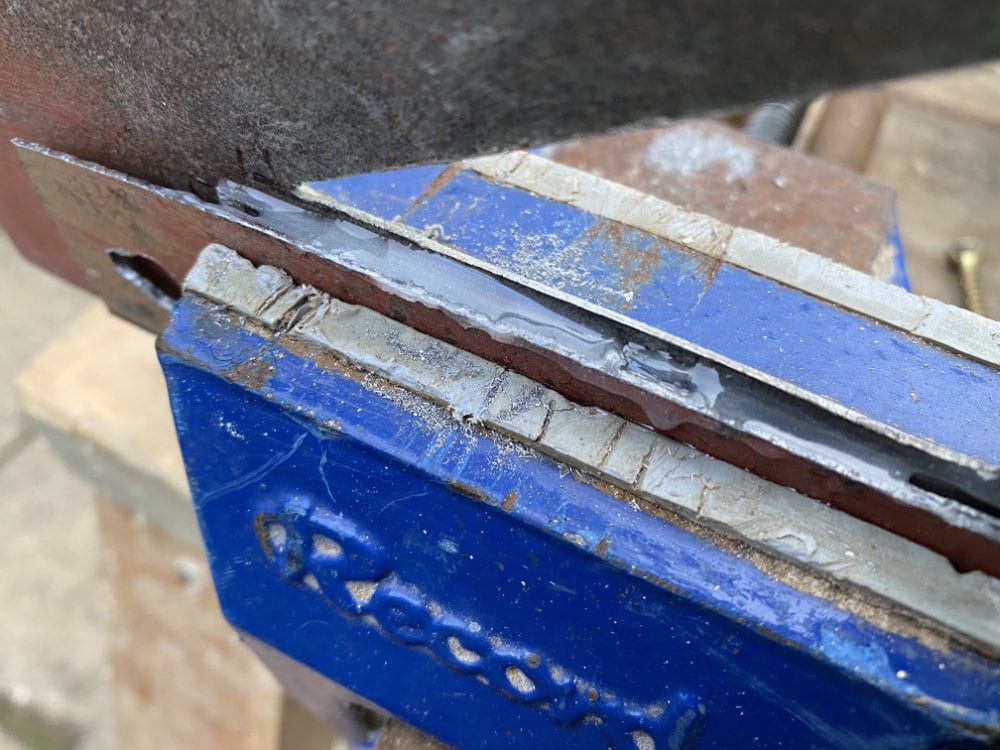
Cutting slots in the base plate allowed me to stick all the pieces of metal together to allow the epoxy to cure, while allowing me to attach the board to the wall and add the number afterwards.
I had to add one more piece of metal to give me enough height above the screw heads. Cutting the slots was a bit of a hassle and I nearly cocked things up beyond saving, but I really didn't want to have to cut another base plate so I carefully re-assessed my method and managed to save it.
Using a test piece of wood I mocked up the position of the screws and stuck all the pieces of metal together.
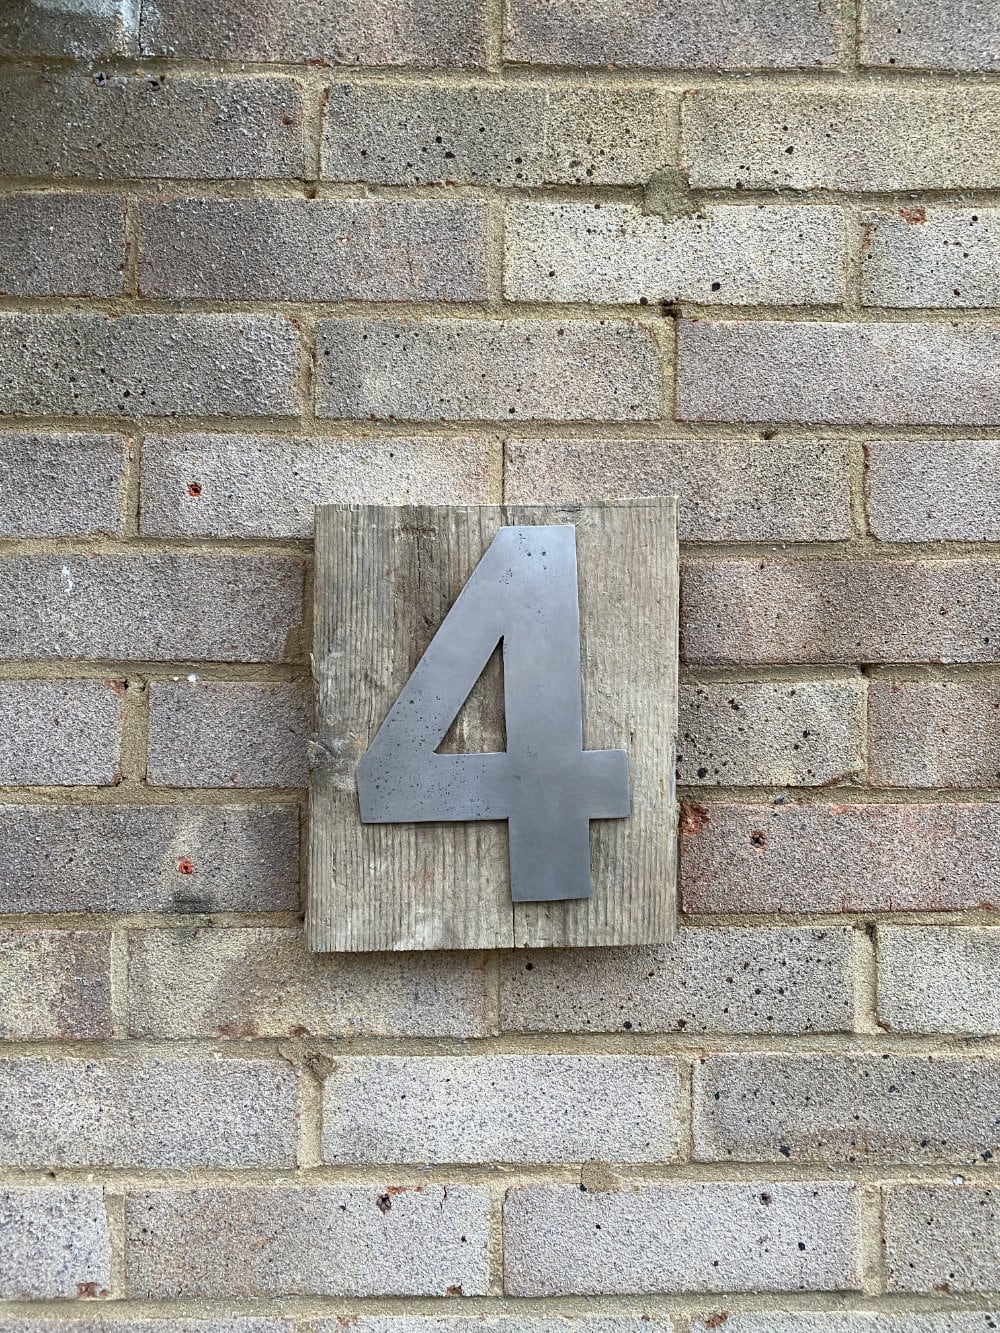
Getting the whole thing mocked up on the wall felt great, but the piece of wood proved too light against the brick of our house. I guess I should have checked first, but it was no huge loss as it came out of our neighbour's skip and didn't take a lot of effort to prep.
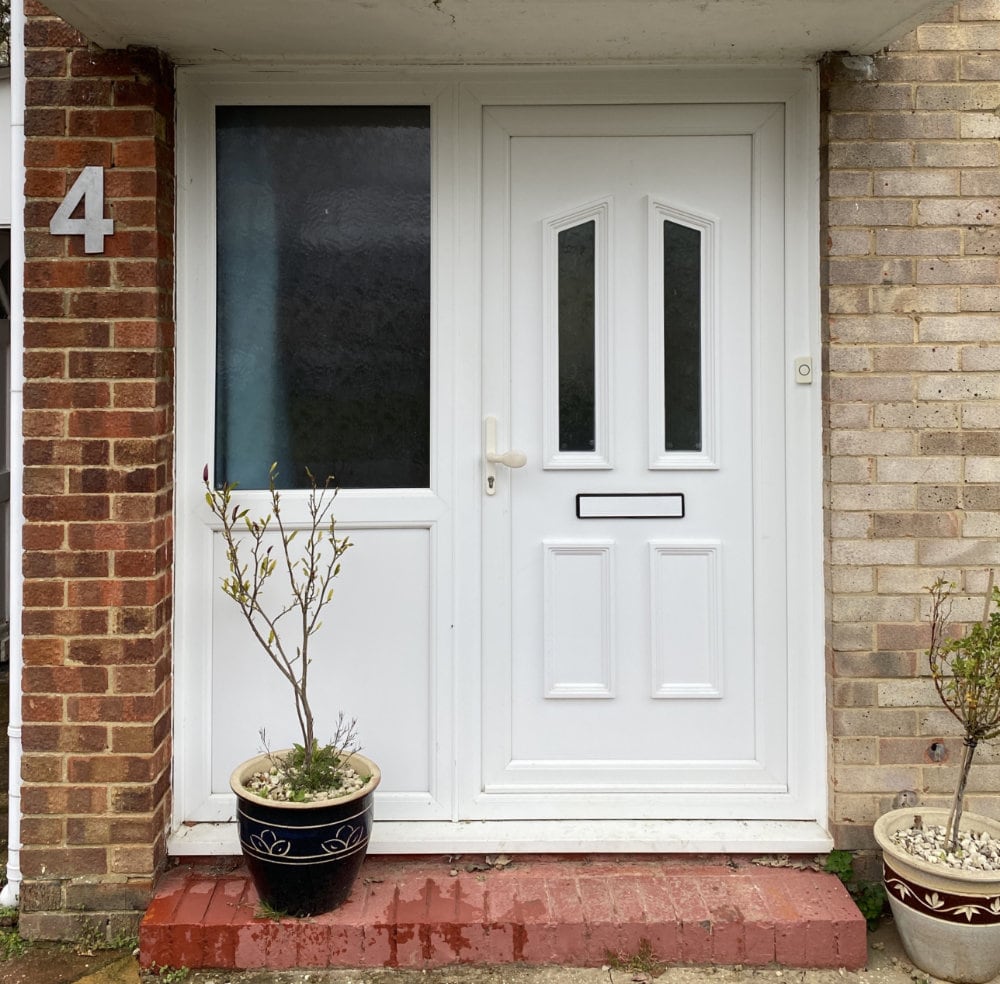
We decided that the number looked better (and was easier to see) just straight on the brick to the left of the door, which is a different colour to the rest of the house.
I started this back in January and have only just put it up, so it's been a four month project! It's been nice to have a project to keep coming back to, one that was different to things I've done before, as I've never really worked with metal before. For me it felt like a challenge and it feels great to have it quite literally displayed on the wall.