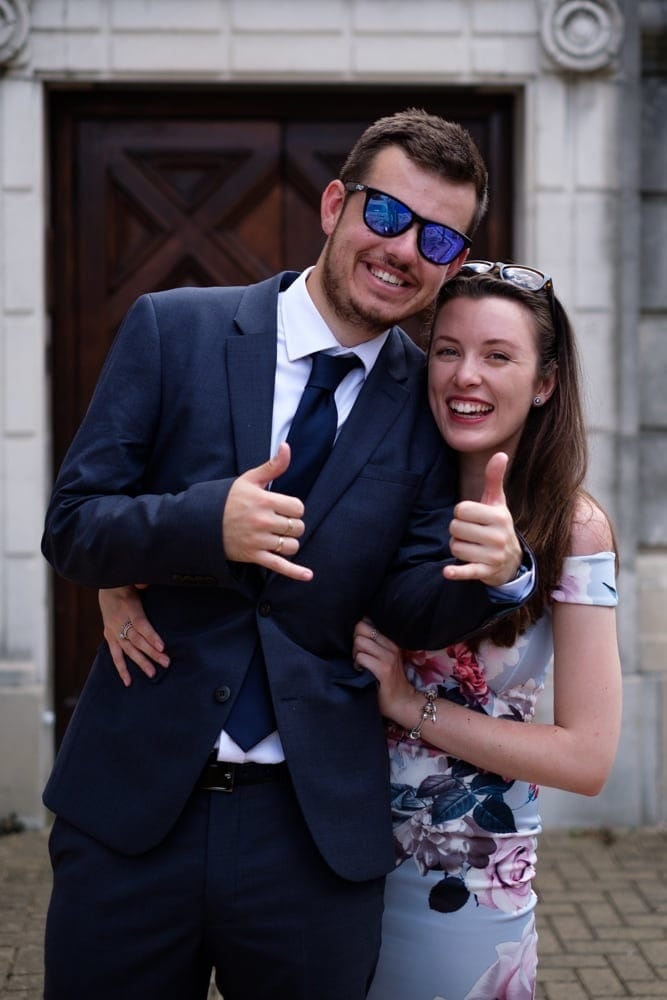
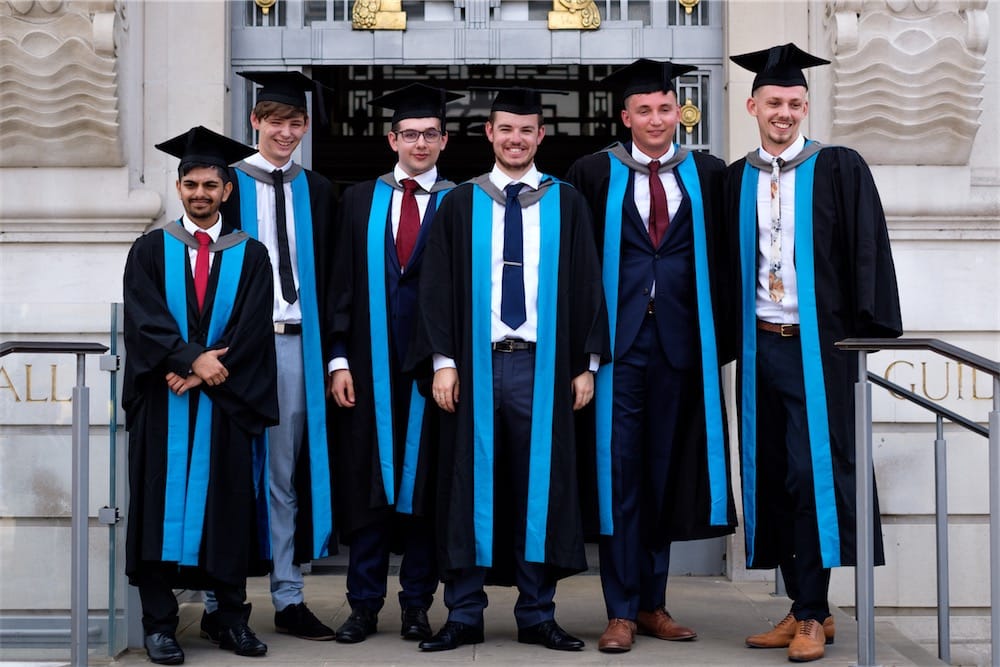
Many of you will probably have seen some photos from the graduation I shot recently. This was the graduation of my brother in law and so while it wasn't paid work I aimed to get him a nice set of photos nonetheless.
The resulting images went down well, both with George and his family and with other random people they also got shared with. So I thought I'd write a little post about what went in to getting the shots.
Before the Day
As this wasn't a paid shoot I didn't prepare much ahead of the day. I knew the people I was going with and the tickets had been booked for me. All I did to prepare was make sure my camera bag was ready to go – which meant checking all my batteries, cards and choosing the other kit I was going to take.
Which Kit?
I thought about my own graduation and other events to decide whether to take a flash or tripod and what lenses to take. I opted not to take a tripod or flash because I was going as a family member not a professional photographer and didn't want to be 'that guy' photographing his family with all the gear I could carry and likely embarrassing George.
So I opted for my usual set of gear; Fuji X-T2 body, 10-24mm, 35mm f1.4 and 55-200mm lenses. I took my Peak Design Slide Lite camera strap as well as their little Cuff hand strap. I took three fully charged batteries and two cards (a fast 64GB Sandisk for RAWs and a fast 32GB Sandisk for medium quality JPEGs) in the X-T2.
A little habit I've got into with knowing whether my camera bag is ready to go is only doing it up properly when the cards are formatted and ready to go and there are at least two charged batteries inside. Otherwise the buckles are left undone and I know immediately when I pick it up that something isn't ready.
On the Day
As I said before I was attending as a family member first and a photographer second so I tried to keep my photo taking to a minimum and do it quickly.
Before we get to the venue I'm looking around at the sky and surrounding buildings, it's a bright sunny day and the shadows are hard and strong – not ideal for taking good portraits. I take this into consideration when thinking about how to shoot.
Picking up the Gown
We arrive at the first stop where George picks up his gown. It's a nice building, official looking and with a pleasing warm stone construction, think Bath style. But the shadows are strong and there are few clean backgrounds to be found and already a large & dispersed group of people taking their own photos. As we wait for George to come back out I'm looking around at the various spots people have chosen, looking at where the subject is standing and their photographer is standing thinking about what the background will look like. Most people are standing with their backs against the small planted area in front of the building, a fairly typical set up for graduation or event photos.
This gives you an okay shot of your graduate, probably a full length shot when taken on a phone or point and shoot camera. The downside being that the background (flowers, plants and the building) are all very close behind the subject and so are in focus too, providing a busy and distracting background.
George comes out and it's photo time, he's looking good in his gown. We weave through the photoshoots already under way and I pick what I think to be the least bad spot for a background. I get George and whoever he is standing with to stand a little in front of the bushes to give a little separation but there isn't much room behind me to get too spaced out. I get lined up to try to a bush in the background, hoping to throw it out of focus with the 35mm 1.4 lens.
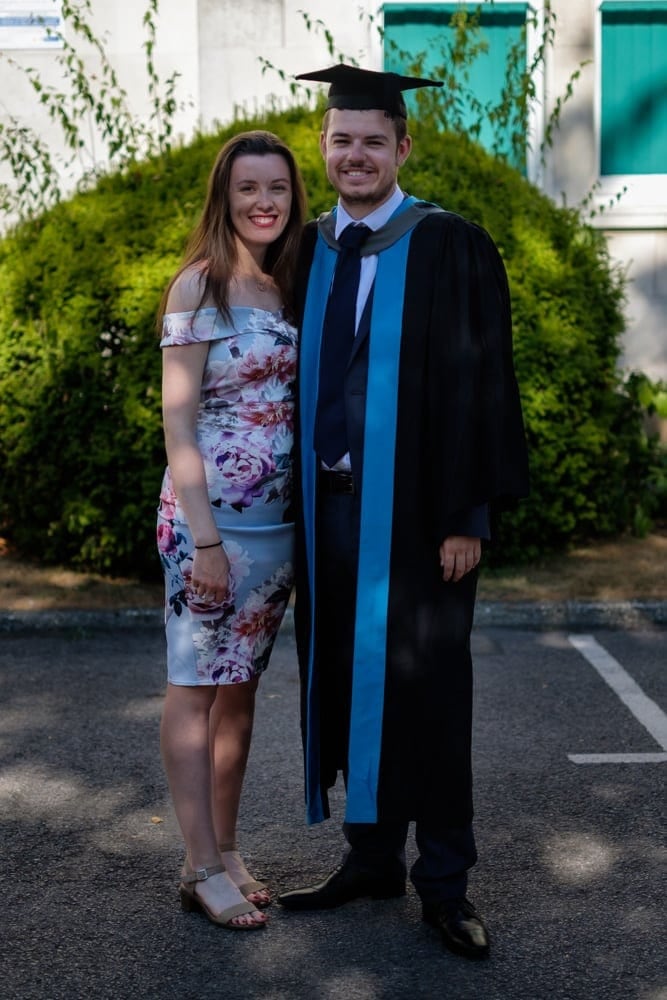
The sun has other ideas. The bush looks okay but the building has white window frames, which are causing the camera to have no idea how to expose the shot. I get the subject correctly exposed easily thanks to the exposure comp dial but then the window frames become annoying highlights behind them. I get a few shots and some acceptable images but nothing great. Having people stand a bit in front of the background and not right against it helps separate them a little and is something worth trying with any camera.
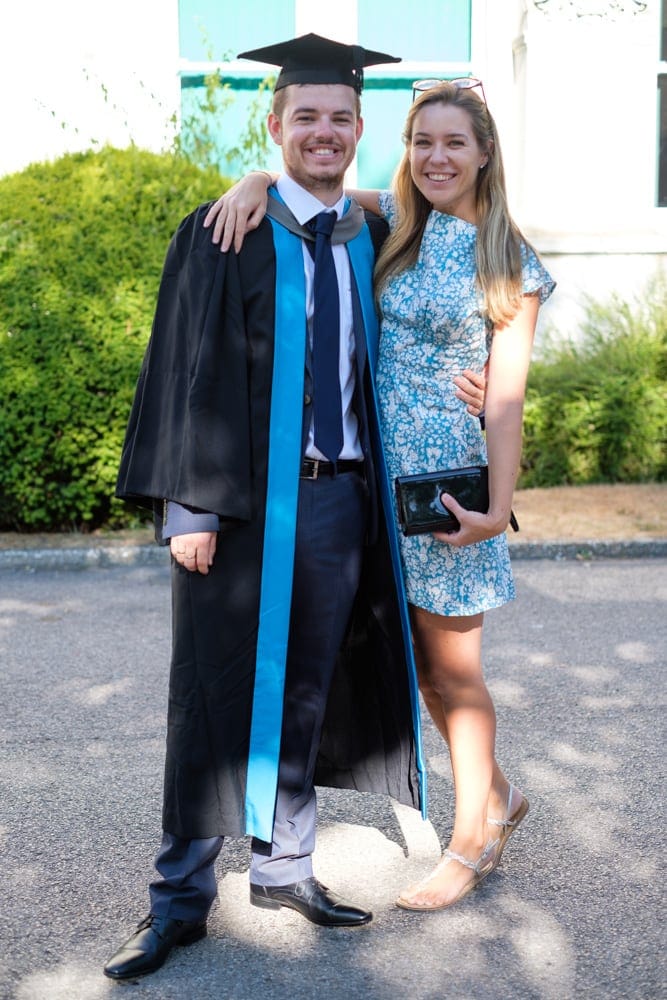
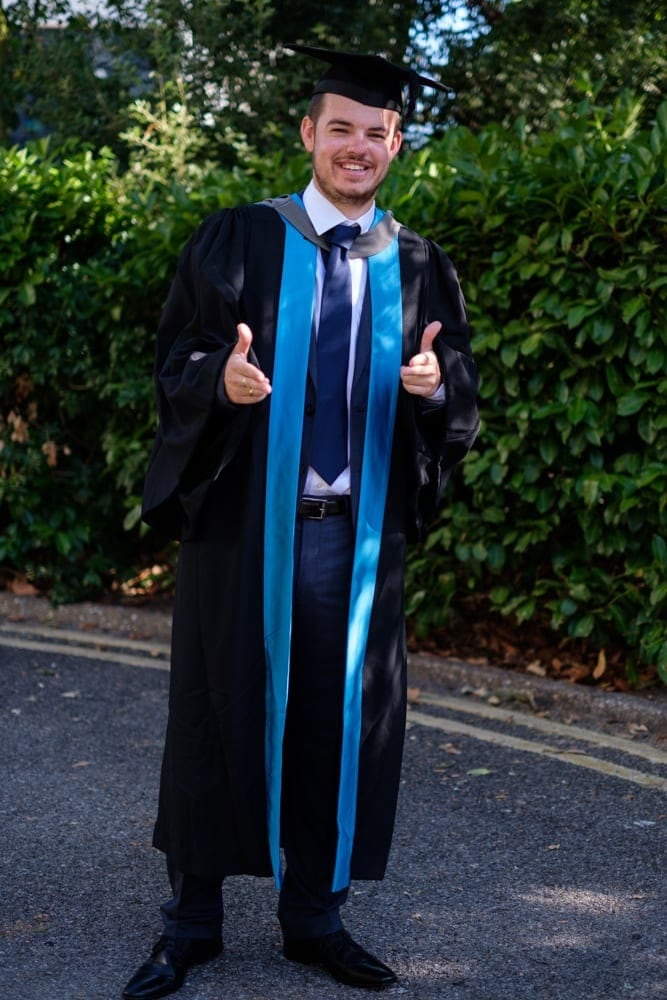
We mill around for a while, so I take the opportunity to spot a better background; one in open shade and with a more solid texture and no distracting highlights. Much better. We got some good shots here.
The Ceremony
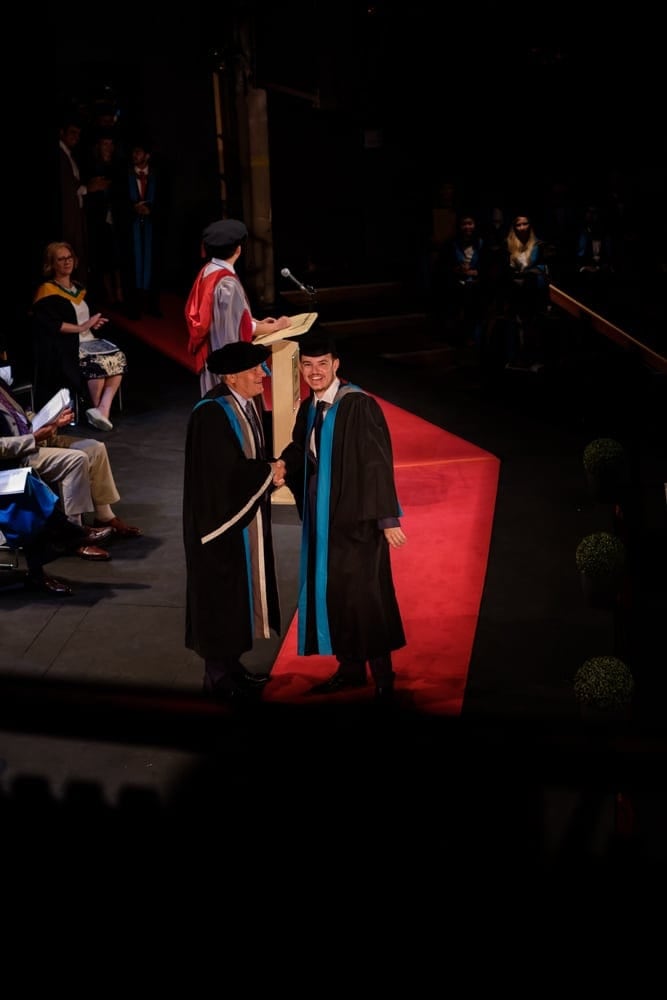
Now lets just set expectations here shall we? Every graduation I've been to (four) has been held in a theatre or similar building and it's dark inside. Really dark. Our eyes adjust and can work with the darkness but for cameras it's pretty blooming dark.
So when I was packing my bag I packed the 55-200mm lens for getting a shot of George walking across the stage knowing full well that at a maximum aperture of f3.5 but more likely f4.5 I wasn't going to get a good shot with that aperture in the darkness of a theatre at ISO 12800 or something but I'd get a shot anyway.
Ideally I'd have a f2.8 telephoto zoom lens to get in more light, but right now I'm not made of money so I don't have that. As it turned out we were sat in almost the best place you could ask for; first floor, close to the stage and facing the right way to see the front of everyone walking onto the stage.
Before George came on I took a few test shots, some with the 55-200mm and some with my trusty 35mm. It turned out that we were close enough for the 35mm to provide a better image, as the ISO could be slightly lower and the lens is sharper so even after cropping the results were better than the zoom lens.
After the Ceremony
With the speeches finished and everyone having made it successfully across the stage we left, slowly, and came back out into the heat of the day. We walked over to another building which had been booked out for people to congregate in after the ceremony.
There was a university background for taking photos against, despite the light being terrible and there not being enough room we eventually went over to take some photos of George and his friends. I had two options here; keep the 35mm on or swap it for the 10-24mm. I kept the prime on as it's a nicer lens and again, it wasn't all that bright in this building either. As it turned out, the friends and family of the friends all had mobile phones so filled up the first line. I had to stand back to get everyone in with my 35mm and used the tilty screen by holding the camera at arms length above my head in order to look over those in front of me. I got a few shots here, but no one knew where to look and the photos wouldn't win any prizes. I snagged a couple of shots looking through the people in front of me, to give a little depth.
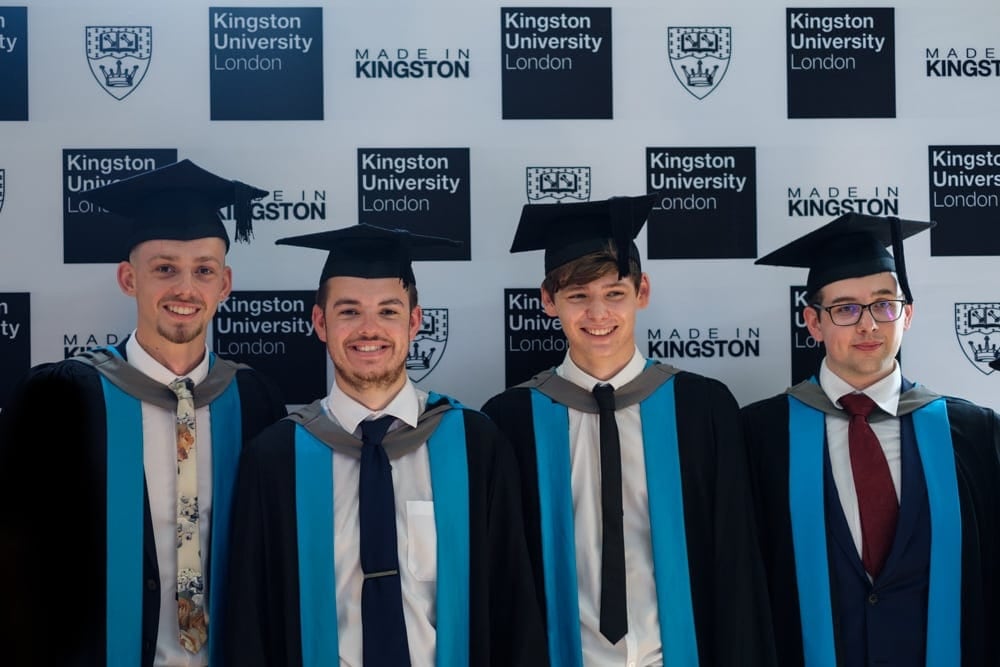
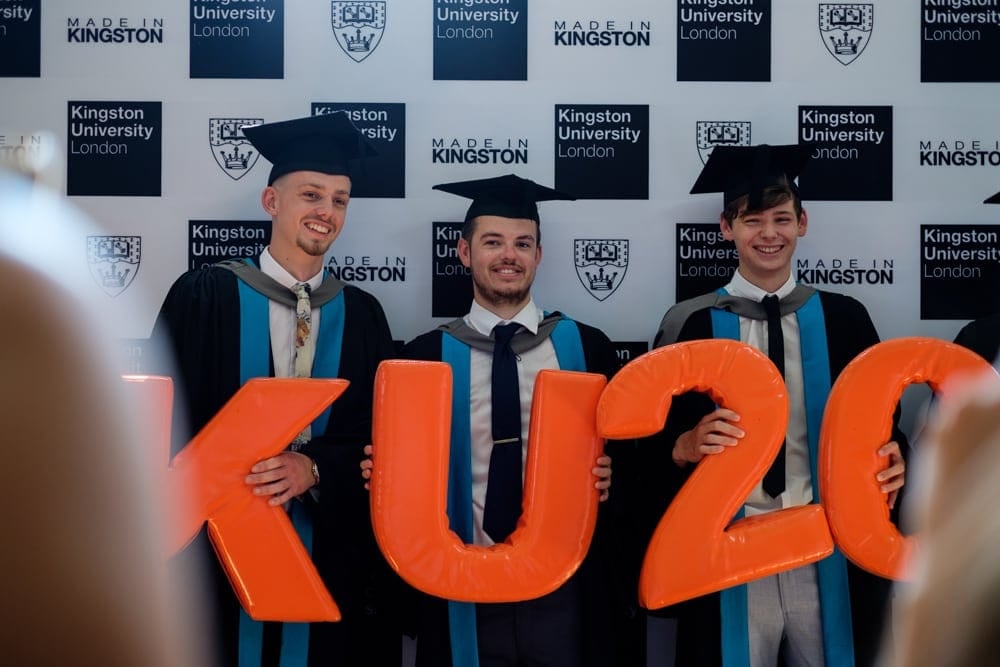
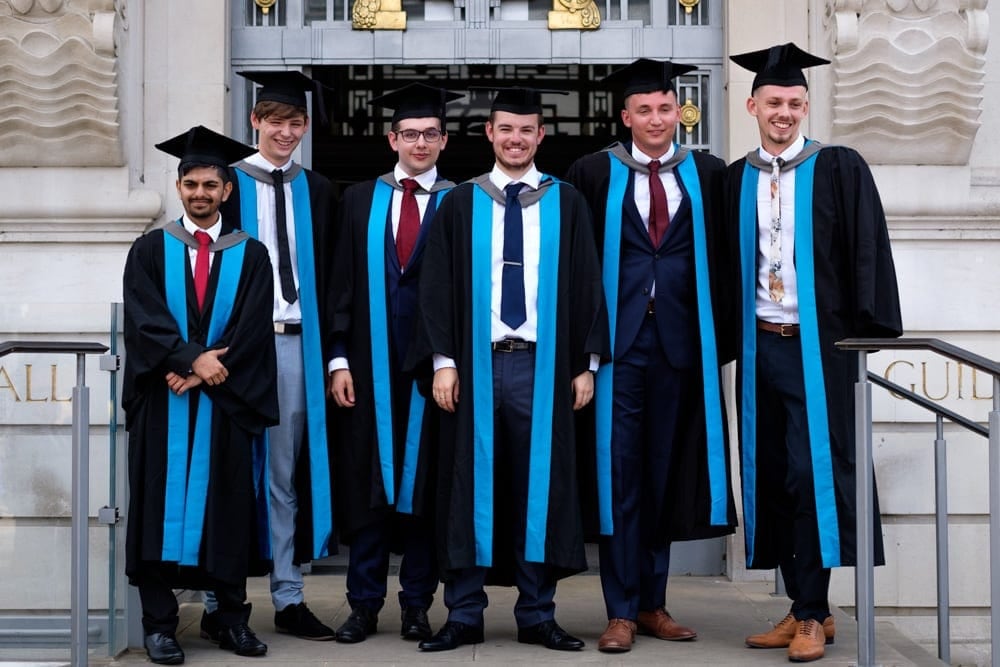
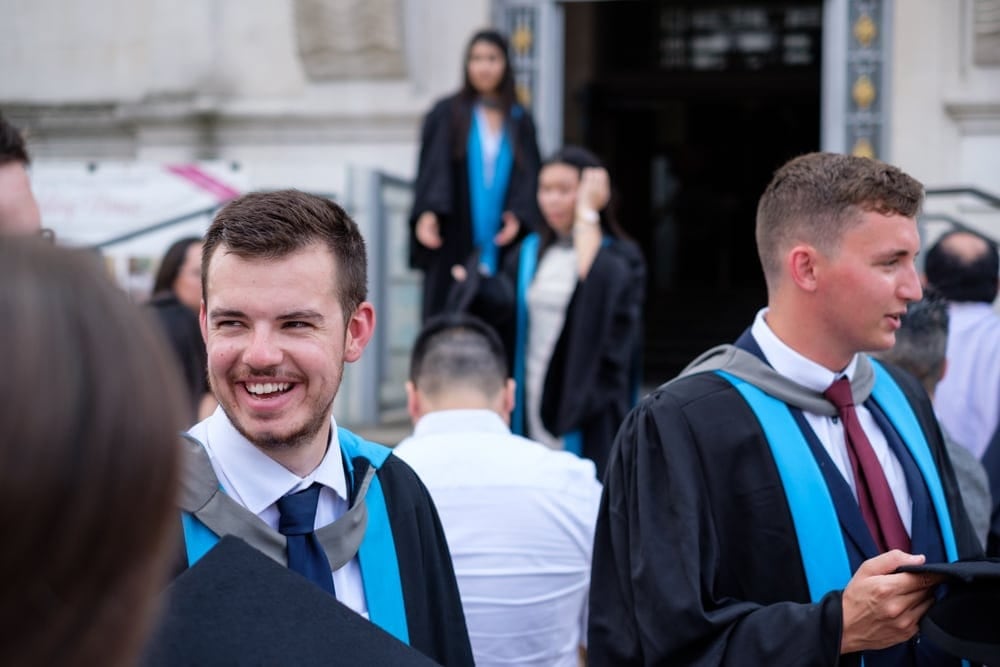
After a while waiting for George to find everyone and disappear off to talk to people we headed back outside to mill around some more. It came time for the typical cap throwing shot outside the building, with the guys at the top of some steps. Again it's tricky with the harshness of the sun and the throng of people also trying to get a photo but I stand back, hold my camera up, set it to continuous shooting mode (well, actually I shoot on continuous mode nearly all the time anyway, so I just switched it from low speed continuous to high speed continuous).
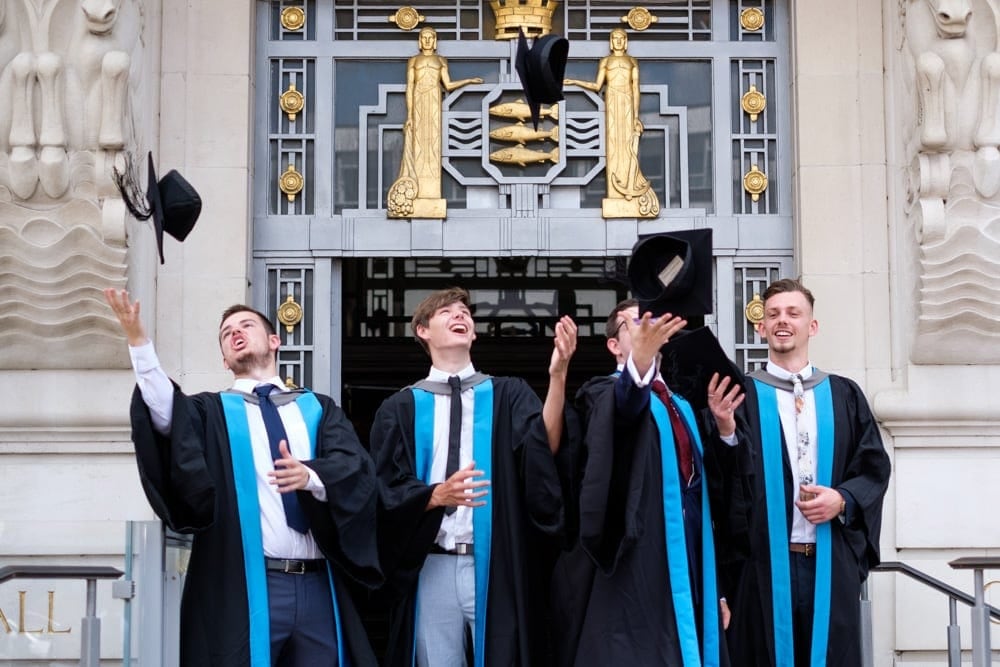
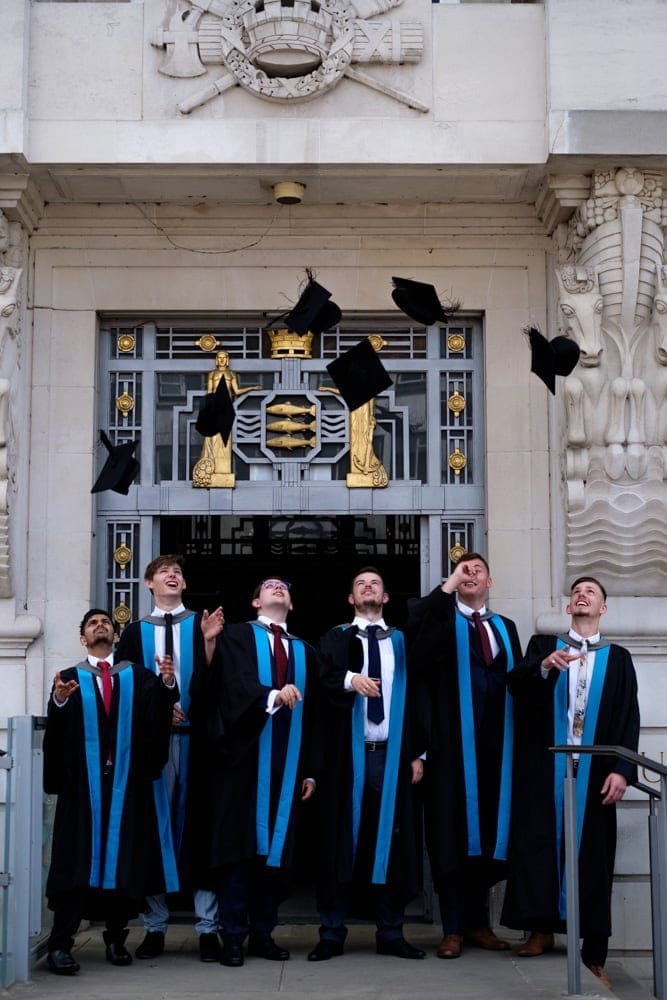
Several throws and attempts at catching were done when someone in the crowd shouted a countdown. I kept the camera to my eye and kept both eyes open so I could see in real time what was happening around me (the EVF is great on the X-T2 but it does have a slight delay). By just holding the shutter button down as the guys got ready to throw their caps all the way until they'd rescued them from the floor after failing to catch them I got a good selection of images.
Then it was time for some more group shots of the family. I wanted to do better than at the first location so with the mention of photos I stalked off looking for a better background as the rest of the group followed. I peeked around the side of the building and found what I was looking for; an as yet unoccupied space with open shade and a cool door to provide a strong but clean background. Off we went.
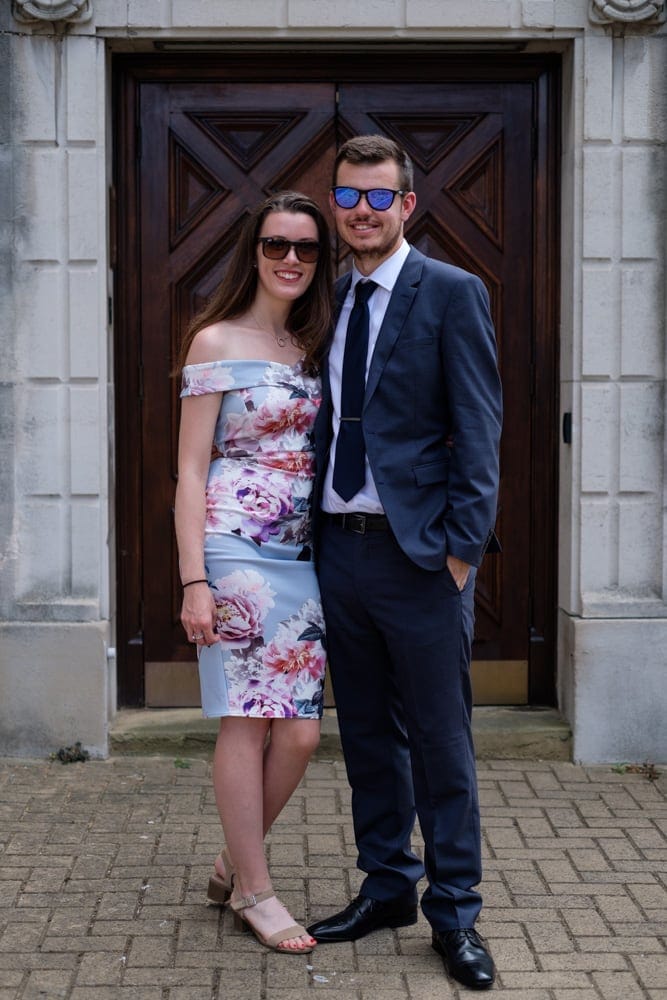
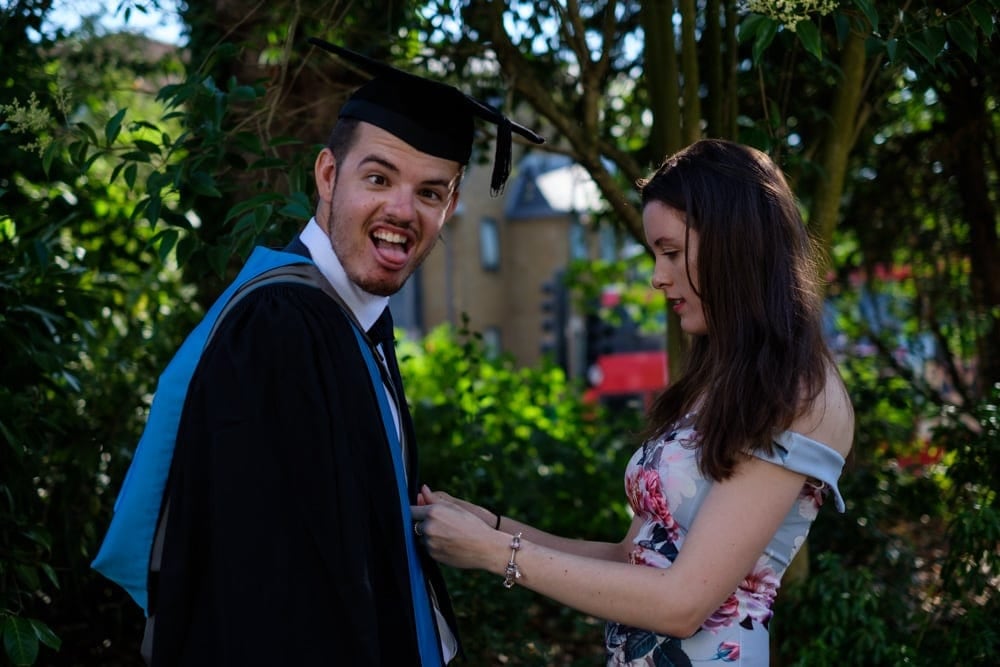
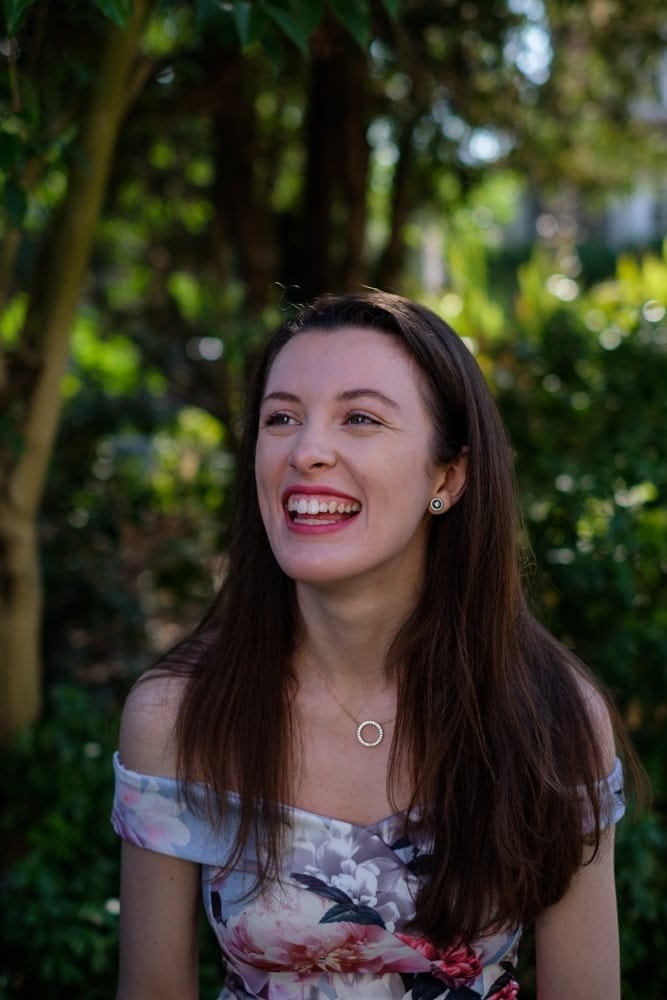
This is where we got the shots I was most happy with from the day. A set of images with a nice background, pretty good light and still natural looking and easy.
When I'm photographing people like this, in a semi posed way, purposely in front of the camera I try to avoid getting them standing stock still. I try to do this by talking with them, by moving myself and encouraging them to be relaxed and laugh about something, whatever fits in at the time. I don't countdown and I don't say any equivalent of "cheese" at least not seriously.
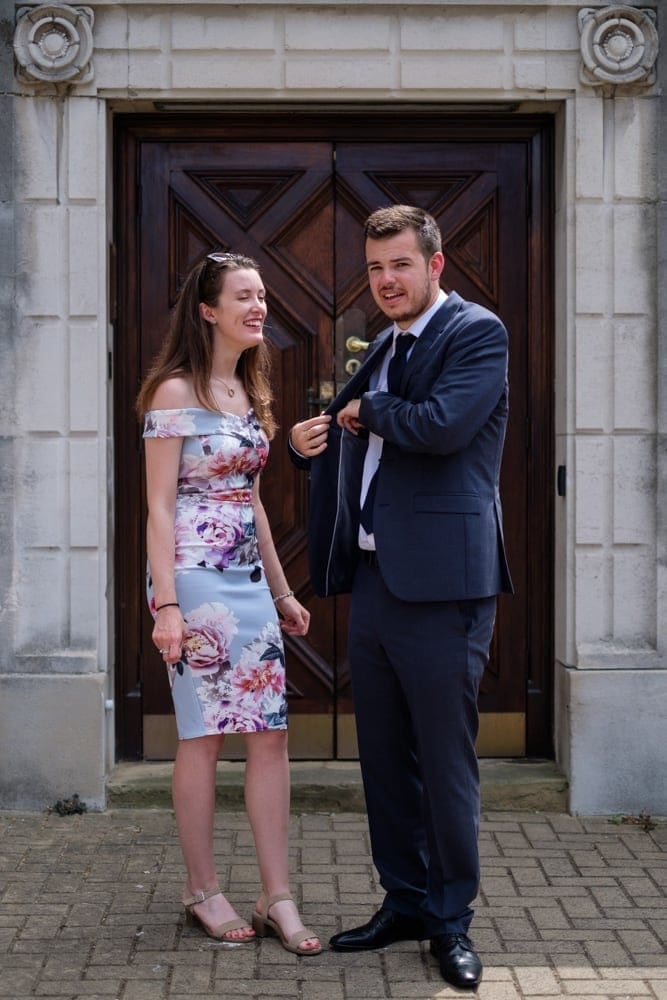
What I do is take photos at any moment they are in front of me, not just when they are 'posing'. I love the in between moments where people aren't forcing on a smile or posing because they are having their photo taken. While I was taking this series of images one of them said something like "I didn't hear it click, have you actually taken any photos" and to me that is a compliment.
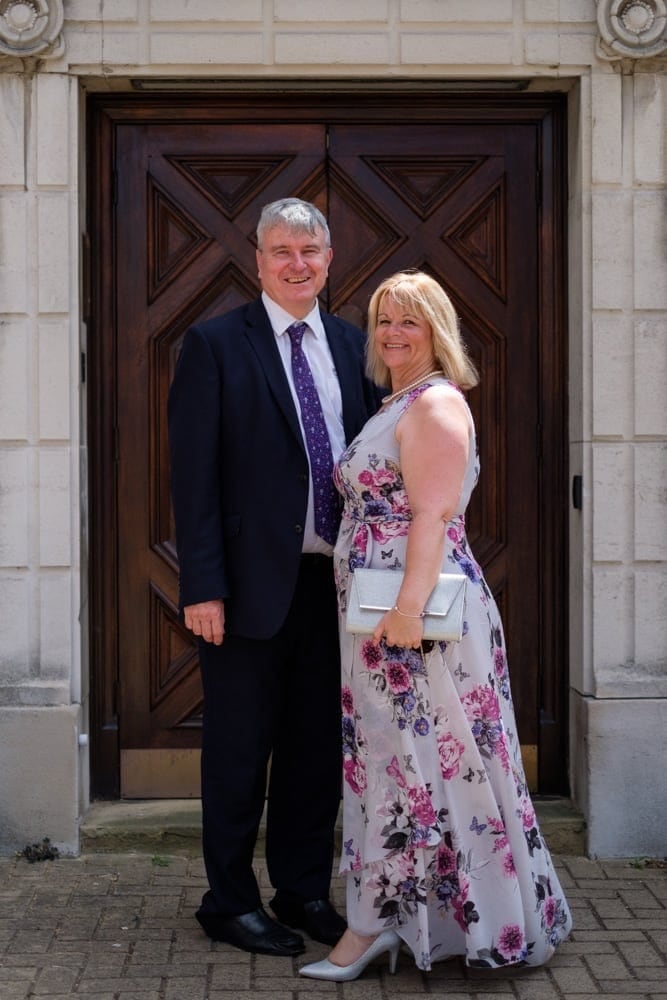
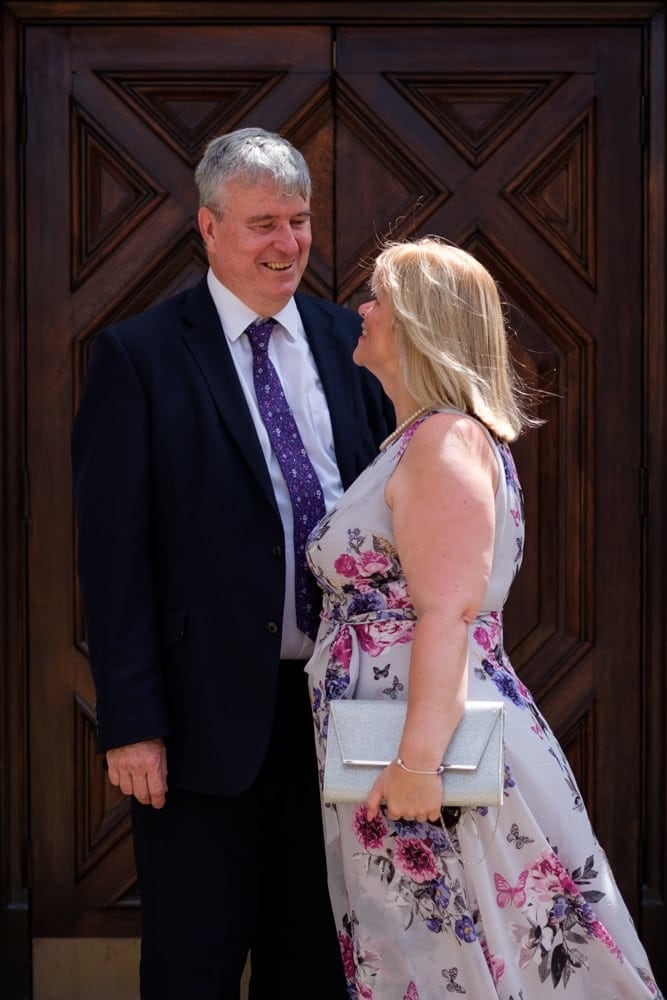
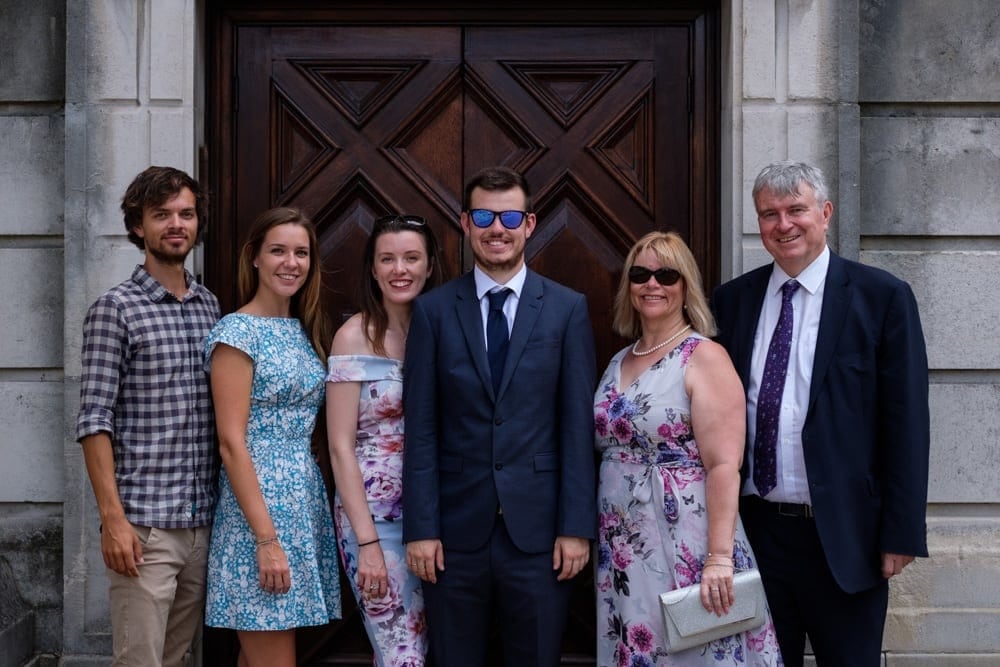
Then someone mentioned taking a group photo but oh no, I didn't have a tripod. This normally means that someone has to miss their place in the group photo, but not if you're resourceful. The sign I had been stood right next to, brushing up against to get the angle right for the preceding photos now stood in (pun intended) as a tripod. I balanced my camera on top and put it on a timer, which thanks to the continuous shooting mode it was on takes several photos instead of just one when the timer runs out.
After the Day
I took 321 shots or 'frames' on the day, well George took a few of me and Nikki but in total there were 321 photos. I normally aim to narrow this down to somewhere around 50 shots for a single day event like this. So the next stage was to look through all 321 shots and process them.
For me this means rejecting any bad shots (out of focus, really badly exposed or just a particularly unflattering shot of a person) and picking out the good ones. For a collection of this size I'll normally do this in one pass but if I had say 500 shots or more I might go through a couple of times.
In this case I narrowed it down to 44 shots to export and share. I shoot in RAW which means that the images need processing so I apply a default preset to all images on import, with a different default preset per camera. At the moment I'm applying my own preset named "Add a little something something" – whatever, you try naming a photo preset.
This default preset applies a baseline of tweaks to exposure, vibrance, sharpness and other stuff to get the images looking good. From there I normally will go through each image I've chosen to export and tweak it as needed. This is nearly always limited to cropping and increasing or decreasing some of the sliders for exposure, contrast, blacks, sharpness etc. I'll also sometimes do a bit of lightweight local editing, which for me means applying a digital graduated filter or brush to tweak the exposure in a certain area. I rarely do any proper image editing, where I alter any part of the image beyond what it actually looked like.
Once the images were processed I exported them a couple of different ways; first a small version for use on Facebook and a slightly higher quality version for adding to a gallery on my website for people to get a copy suitable for printing. Both sets were run through an app called ImageOptim to optimise them further, I do this nearly overtime I export, unless the exported images are intended for printing only as it really helps slim them down.
So, there you go. That gives a little insight into how I got the photos for George's graduation. If you're looking for a photographer for something, maybe you could get in touch and I take a nice set of images for you, a bit like these ones, but without George in them.
